


More on Entrepreneurship/Creators

Aaron Dinin, PhD
2 years ago
The Advantages and Disadvantages of Having Investors Sign Your NDA
Startup entrepreneurs assume what risks when pitching?

Last week I signed four NDAs.
Four!
NDA stands for non-disclosure agreement. A legal document given to someone receiving confidential information. By signing, the person pledges not to share the information for a certain time. If they do, they may be in breach of contract and face legal action.
Companies use NDAs to protect trade secrets and confidential internal information from employees and contractors. Appropriate. If you manage a huge, successful firm, you don't want your employees selling their information to your competitors. To be true, business NDAs don't always prevent corporate espionage, but they usually make employees and contractors think twice before sharing.
I understand employee and contractor NDAs, but I wasn't asked to sign one. I counsel entrepreneurs, thus the NDAs I signed last week were from startups that wanted my feedback on their concepts.
I’m not a startup investor. I give startup guidance online. Despite that, four entrepreneurs thought their company ideas were so important they wanted me to sign a generically written legal form they probably acquired from a shady, spam-filled legal templates website before we could chat.
False. One company tried to get me to sign their NDA a few days after our conversation. I gently rejected, but their tenacity encouraged me. I considered sending retroactive NDAs to everyone I've ever talked to about one of my startups in case they establish a successful company based on something I said.
Two of the other three NDAs were from nearly identical companies. Good thing I didn't sign an NDA for the first one, else they may have sued me for talking to the second one as though I control the firms people pitch me.
I wasn't talking to the fourth NDA company. Instead, I received an unsolicited email from someone who wanted comments on their fundraising pitch deck but required me to sign an NDA before sending it.
That's right, before I could read a random Internet stranger's unsolicited pitch deck, I had to sign his NDA, potentially limiting my ability to discuss what was in it.
You should understand. Advisors, mentors, investors, etc. talk to hundreds of businesses each year. They cannot manage all the companies they deal with, thus they cannot risk legal trouble by talking to someone. Well, if I signed NDAs for all the startups I spoke with, half of the 300+ articles I've written on Medium over the past several years could get me sued into the next century because I've undoubtedly addressed topics in my articles that I discussed with them.
The four NDAs I received last week are part of a recent trend of entrepreneurs sending out NDAs before meetings, despite the practical and legal issues. They act like asking someone to sign away their right to talk about all they see and hear in a day is as straightforward as asking for a glass of water.
Given this inflow of NDAs, I wanted to briefly remind entrepreneurs reading this blog about the merits and cons of requesting investors (or others in the startup ecosystem) to sign your NDA.
Benefits of having investors sign your NDA include:
None. Zero. Nothing.
Disadvantages of requesting investor NDAs:
You'll come off as an amateur who has no idea what it takes to launch a successful firm.
Investors won't trust you with their money since you appear to be a complete amateur.
Printing NDAs will be a waste of paper because no genuine entrepreneur will ever sign one.
I apologize for missing any cons. Please leave your remarks.

Woo
3 years ago
How To Launch A Business Without Any Risk
> Say Hello To The Lean-Hedge Model
People think starting a business requires significant debt and investment. Like Shark Tank, you need a world-changing idea. I'm not saying to avoid investors or brilliant ideas.
Investing is essential to build a genuinely profitable company. Think Apple or Starbucks.
Entrepreneurship is risky because many people go bankrupt from debt. As starters, we shouldn't do it. Instead, use lean-hedge.
Simply defined, you construct a cash-flow business to hedge against long-term investment-heavy business expenses.
What the “fx!$rench-toast” is the lean-hedge model?
When you start a business, your money should move down, down, down, then up when it becomes profitable.
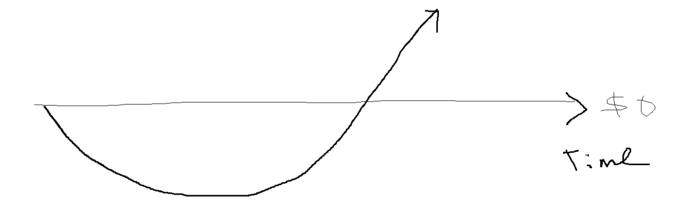
Many people don't survive the business's initial losses and debt. What if, we created a cash-flow business BEFORE we started our Starbucks to hedge against its initial expenses?

Lean-hedge has two sections. Start a cash-flow business. A cash-flow business takes minimal investment and usually involves sweat and time.
Let’s take a look at some examples:
A Translation company
Personal portfolio website (you make a site then you do cold e-mail marketing)
FREELANCE (UpWork, Fiverr).
Educational business.
Infomarketing. (You design a knowledge-based product. You sell the info).
Online fitness/diet/health coaching ($50-$300/month, calls, training plan)
Amazon e-book publishing. (Medium writers do this)
YouTube, cash-flow channel
A web development agency (I'm a dev, but if you're not, a graphic design agency, etc.) (Sell your time.)
Digital Marketing
Online paralegal (A million lawyers work in the U.S).
Some dropshipping (Organic Tik Tok dropshipping, where you create content to drive traffic to your shopify store instead of spend money on ads).
(Disclaimer: My first two cash-flow enterprises, which were language teaching, failed terribly. My translation firm is now booming because B2B e-mail marketing is easy.)
Crossover occurs. Your long-term business starts earning more money than your cash flow business.
My cash-flow business (freelancing, translation) makes $7k+/month.
I’ve decided to start a slightly more investment-heavy digital marketing agency
Here are the anticipated business's time- and money-intensive investments:
($$$) Top Front-End designer's Figma/UI-UX design (in negotiation)
(Time): A little copywriting (I will do this myself)
($$) Creating an animated webpage with HTML (in negotiation)
Backend Development (Duration) (I'll carry out this myself using Laravel.)
Logo Design ($$)
Logo Intro Video for $
Video Intro (I’ll edit this myself with Premiere Pro)
etc.
Then evaluate product, place, price, and promotion. Consider promotion and pricing.
The lean-hedge model's point is:
Don't gamble. Avoid debt. First create a cash-flow project, then grow it steadily.
Check read my previous posts on “Nightmare Mode” (which teaches you how to make work as interesting as video games) and Why most people can't escape a 9-5 to learn how to develop a cash-flow business.

Andy Raskin
3 years ago
I've Never Seen a Sales Deck This Good

It’s Zuora’s, and it’s brilliant. Here’s why.
My friend Tim got a sales position at a Series-C software company that garnered $60 million from A-list investors. He's one of the best salespeople I know, yet he emailed me after starting to struggle.
Tim has a few modest clients. “Big companies ignore my pitch”. Tim said.
I love helping teams write the strategic story that drives sales, marketing, and fundraising. Tim and I had lunch at Amber India on Market Street to evaluate his deck.
After a feast, I asked Tim when prospects tune out.
He said, “several slides in”.
Intent on maximizing dining ROI, Tim went back to the buffet for seconds. When he returned, I pulled out my laptop and launched into a Powerpoint presentation.
“What’s this?” Tim asked.
“This,” I said, “is the greatest sales deck I have ever seen.”
Five Essentials of a Great Sales Narrative
I showed Tim a sales slide from IPO-bound Zuora, which sells a SaaS platform for subscription billing. Zuora supports recurring payments (e.g. enterprise software).
Ex-Zuora salesman gave me the deck, saying it helped him close his largest business. (I don't know anyone who works at Zuora.) After reading this, a few Zuora employees contacted me.)
Tim abandoned his naan in a pool of goat curry and took notes while we discussed the Zuora deck.
We remarked how well the deck led prospects through five elements:
(The ex-Zuora salesperson begged me not to release the Zuora deck publicly.) All of the images below originate from Zuora's website and SlideShare channel.)
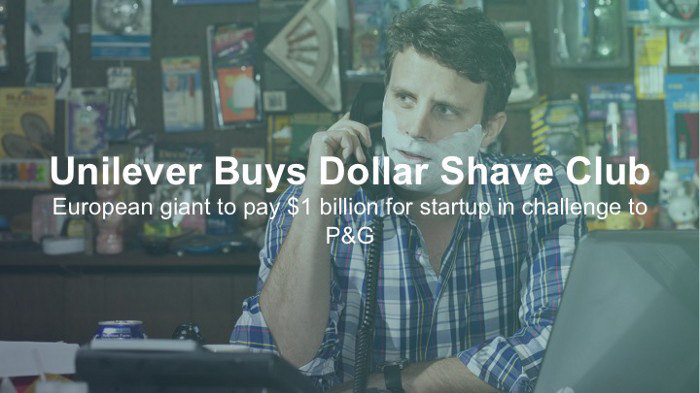
#1. Name a Significant Change in the World
Don't start a sales presentation with mentioning your product, headquarters, investors, clients, or yourself.
Name the world shift that raises enormous stakes and urgency for your prospect.
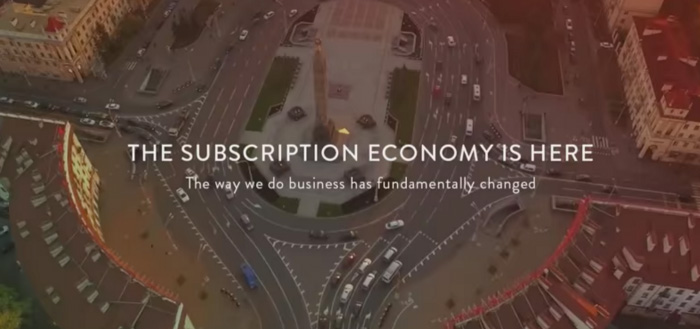
Every Zuora sales deck begins with this slide:
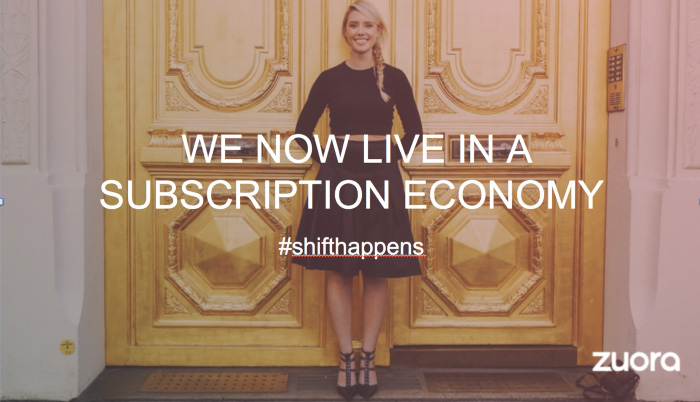
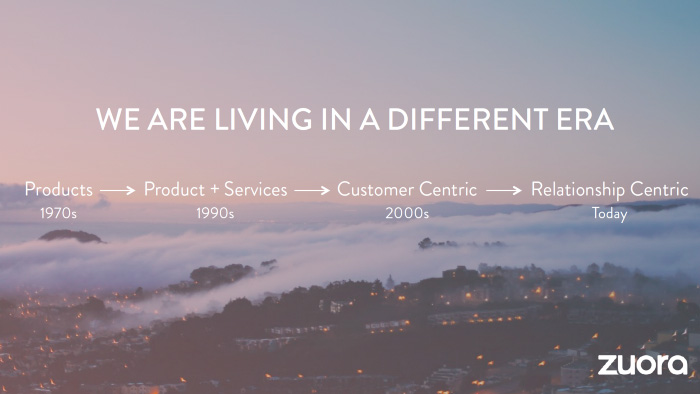
Zuora coined the term subscription economy to describe a new market where purchasers prefer regular service payments over outright purchases. Zuora then shows a slide with the change's history.
Most pitch recommendation advises starting with the problem. When you claim a problem, you put prospects on the defensive. They may be unaware of or uncomfortable admitting the situation.
When you highlight a global trend, prospects open up about how it affects them, worries them, and where they see opportunity. You capture their interest. Robert McKee says:
…what attracts human attention is change. …if the temperature around you changes, if the phone rings — that gets your attention. The way in which a story begins is a starting event that creates a moment of change.
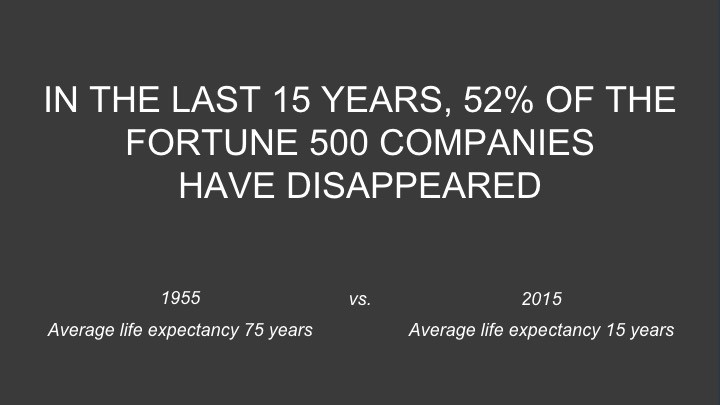
#2. Show There’ll Be Winners and Losers
Loss aversion affects all prospects. They avoid a loss by sticking with the status quo rather than risking a gain by changing.
To fight loss aversion, show how the change will create winners and losers. You must show both
that if the prospect can adjust to the modification you mentioned, the outcome will probably be quite favorable; and
That failing to do so is likely to have an unacceptable negative impact on the prospect's future
Zuora shows a mass extinction among Fortune 500 firms.
…and then showing how the “winners” have shifted from product ownership to subscription services. Those include upstarts…
…as well as rejuvenated incumbents:
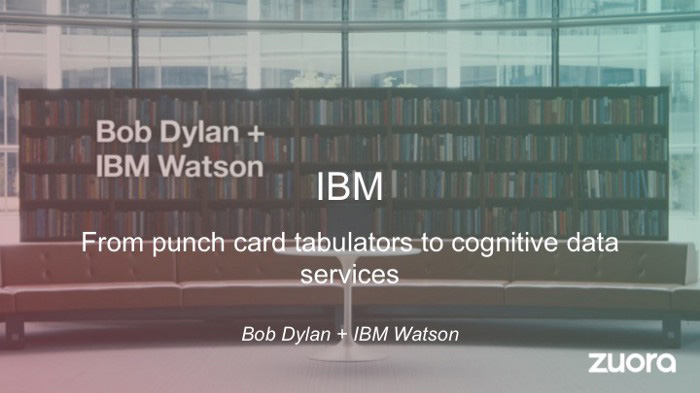
To illustrate, Zuora asks:

Winners utilize Zuora's subscription service models.
#3. Tease the Promised Land
It's tempting to get into product or service details now. Resist that urge.
Prospects won't understand why product/service details are crucial if you introduce them too soon, therefore they'll tune out.
Instead, providing a teaser image of the happily-ever-after your product/service will assist the prospect reach.
Your Promised Land should be appealing and hard to achieve without support. Otherwise, why does your company exist?
Zuora shows this Promised Land slide after explaining that the subscription economy will have winners and losers.
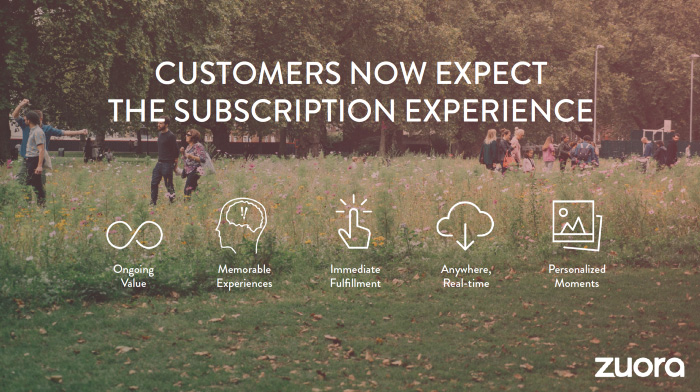
Not your product or service, but a new future state.
(I asked my friend Tim to describe his Promised Land, and he answered, "You’ll have the most innovative platform for ____." Nope: the Promised Land isn't possessing your technology, but living with it.)
Your Promised Land helps prospects market your solution to coworkers after your sales meeting. Your coworkers will wonder what you do without you. Your prospects are more likely to provide a persuasive answer with a captivating Promised Land.
#4. Present Features as “Mystic Gifts” for Overcoming Difficulties on the Road to the Promised Land
Successful sales decks follow the same format as epic films and fairy tales. Obi Wan gives Luke a lightsaber to help him destroy the Empire. You're Gandalf, helping Frodo destroy the ring. Your prospect is Cinderella, and you're her fairy godmother.
Position your product or service's skills as mystical gifts to aid your main character (prospect) achieve the Promised Land.
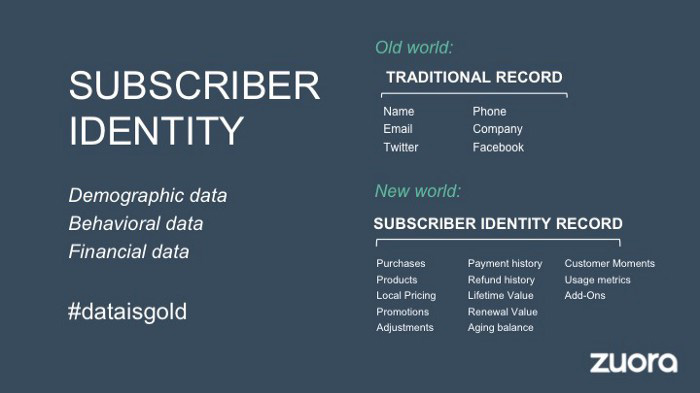
Zuora's client record slide is shown above. Without context, even the most technical prospect would be bored.
Positioned in the context of shifting from an “old” to a “new world”, it's the foundation for a compelling conversation with prospects—technical and otherwise—about why traditional solutions can't reach the Promised Land.
#5. Show Proof That You Can Make the Story True.
In this sense, you're promising possibilities that if they follow you, they'll reach the Promised Land.
The journey to the Promised Land is by definition rocky, so prospects are right to be cautious. The final part of the pitch is proof that you can make the story come true.
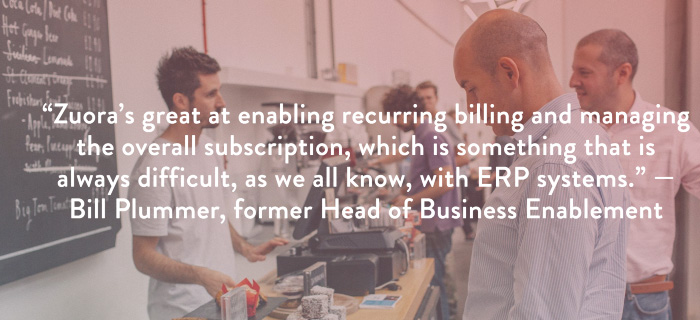
The most convincing proof is a success story about how you assisted someone comparable to the prospect. Zuora's sales people use a deck of customer success stories, but this one gets the essence.
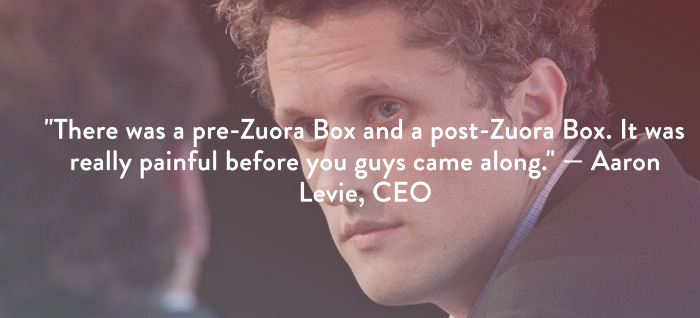
I particularly appreciate this one from an NCR exec (a Zuora customer), which relates more strongly to Zuora's Promised Land:
Not enough successful customers? Product demos are the next best evidence, but features should always be presented in the context of helping a prospect achieve the Promised Land.
The best sales narrative is one that is told by everyone.
Success rarely comes from a fantastic deck alone. To be effective, salespeople need an organization-wide story about change, Promised Land, and Magic Gifts.
Zuora exemplifies this. If you hear a Zuora executive, including CEO Tien Tzuo, talk, you'll likely hear about the subscription economy and its winners and losers. This is the theme of the company's marketing communications, campaigns, and vision statement.
According to the ex-Zuora salesperson, company-wide story alignment made him successful.
The Zuora marketing folks ran campaigns and branding around this shift to the subscription economy, and [CEO] Tien [Tzuo] talked it up all the time. All of that was like air cover for my in-person sales ground attack. By the time I arrived, prospects were already convinced they had to act. It was the closest thing I’ve ever experienced to sales nirvana.
The largest deal ever
Tim contacted me three weeks after our lunch to tell me that prospects at large organizations were responding well to his new deck, which we modeled on Zuora's framework. First, prospects revealed their obstacles more quickly. The new pitch engages CFOs and other top gatekeepers better, he said.
A week later, Tim emailed that he'd signed his company's biggest agreement.
Next week, we’re headed back to Amber India to celebrate.
You might also like

Isaiah McCall
3 years ago
Is TikTok slowly destroying a new generation?
It's kids' digital crack

TikTok is a destructive social media platform.
The interface shortens attention spans and dopamine receptors.
TikTok shares more data than other apps.
Seeing an endless stream of dancing teens on my glowing box makes me feel like a Blade Runner extra.
TikTok did in one year what MTV, Hollywood, and Warner Music tried to do in 20 years. TikTok has psychotized the two-thirds of society Aldous Huxley said were hypnotizable.
Millions of people, mostly kids, are addicted to learning a new dance, lip-sync, or prank, and those who best dramatize this collective improvisation get likes, comments, and shares.
TikTok is a great app. So what?
The Commercial Magnifying Glass TikTok made me realize my generation's time was up and the teenage Zoomers were the target.
I told my 14-year-old sister, "Enjoy your time under the commercial magnifying glass."
TikTok sells your every move, gesture, and thought. Data is the new oil. If you tell someone, they'll say, "Yeah, they collect data, but who cares? I have nothing to hide."
It's a George Orwell novel's beginning. Look up Big Brother Award winners to see if TikTok won.

TikTok shares your data more than any other social media app, and where it goes is unclear. TikTok uses third-party trackers to monitor your activity after you leave the app.
Consumers can't see what data is shared or how it will be used. — Genius URL
32.5 percent of Tiktok's users are 10 to 19 and 29.5% are 20 to 29.
TikTok is the greatest digital marketing opportunity in history, and they'll use it to sell you things, track you, and control your thoughts. Any of its users will tell you, "I don't care, I just want to be famous."
TikTok manufactures mental illness
TikTok's effect on dopamine and the brain is absurd. Dopamine controls the brain's pleasure and reward centers. It's like a switch that tells your brain "this feels good, repeat."
Dr. Julie Albright, a digital culture and communication sociologist, said TikTok users are "carried away by dopamine." It's hypnotic, you'll keep watching."
TikTok constantly releases dopamine. A guy on TikTok recently said he didn't like books because they were slow and boring.
The US didn't ban Tiktok.
Biden and Trump agree on bad things. Both agree that TikTok threatens national security and children's mental health.
The Chinese Communist Party owns and operates TikTok, but that's not its only problem.
There’s borderline child porn on TikTok
It's unsafe for children and violated COPPA.
It's also Chinese spyware. I'm not a Trump supporter, but I was glad he wanted TikTok regulated and disappointed when he failed.
Full-on internet censorship is rare outside of China, so banning it may be excessive. US should regulate TikTok more.
We must reject a low-quality present for a high-quality future.
TikTok vs YouTube
People got mad when I wrote about YouTube's death.
They didn't like when I said TikTok was YouTube's first real challenger.
Indeed. TikTok is the fastest-growing social network. In three years, the Chinese social media app TikTok has gained over 1 billion active users. In the first quarter of 2020, it had the most downloads of any app in a single quarter.
TikTok is the perfect social media app in many ways. It's brief and direct.
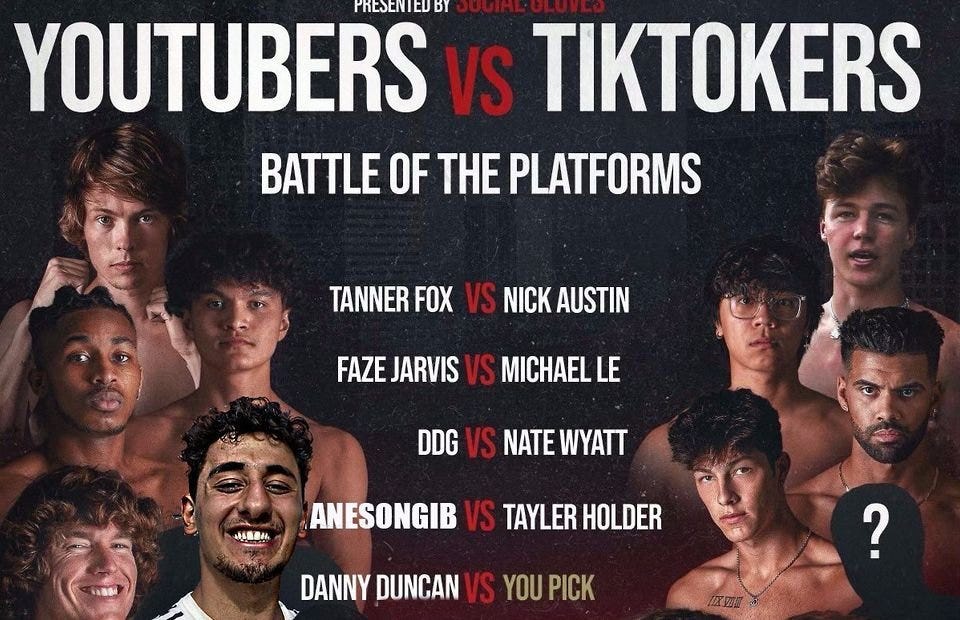
Can you believe they had a YouTube vs TikTok boxing match? We are doomed as a species.
YouTube hosts my favorite videos. That’s why I use it. That’s why you use it. New users expect more. They want something quicker, more addictive.
TikTok's impact on other social media platforms frustrates me. YouTube copied TikTok to compete.
It's all about short, addictive content.
I'll admit I'm probably wrong about TikTok. My friend says his feed is full of videos about food, cute animals, book recommendations, and hot lesbians.
Whatever.
TikTok makes us bad
TikTok is the opposite of what the Ancient Greeks believed about wisdom.
It encourages people to be fake. It's like a never-ending costume party where everyone competes.
It does not mean that Gen Z is doomed.
They could be the saviors of the world for all I know.
TikTok feels like a step towards Mike Judge's "Idiocracy," where the average person is a pleasure-seeking moron.

Mark Shpuntov
3 years ago
How to Produce a Month's Worth of Content for Social Media in a Day
New social media producers' biggest error

The Treadmill of Social Media Content
New creators focus on the wrong platforms.
They post to Instagram, Twitter, TikTok, etc.
They create daily material, but it's never enough for social media algorithms.
Creators recognize they're on a content creation treadmill.
They have to keep publishing content daily just to stay on the algorithm’s good side and avoid losing the audience they’ve built on the platform.
This is exhausting and unsustainable, causing creator burnout.
They focus on short-lived platforms, which is an issue.
Comparing low- and high-return social media platforms
Social media networks are great for reaching new audiences.
Their algorithm is meant to viralize material.
Social media can use you for their aims if you're not careful.
To master social media, focus on the right platforms.
To do this, we must differentiate low-ROI and high-ROI platforms:
Low ROI platforms are ones where content has a short lifespan. High ROI platforms are ones where content has a longer lifespan.
A tweet may be shown for 12 days. If you write an article or blog post, it could get visitors for 23 years.
ROI is drastically different.
New creators have limited time and high learning curves.
Nothing is possible.
First create content for high-return platforms.
ROI for social media platforms
Here are high-return platforms:
Your Blog - A single blog article can rank and attract a ton of targeted traffic for a very long time thanks to the power of SEO.
YouTube - YouTube has a reputation for showing search results or sidebar recommendations for videos uploaded 23 years ago. A superb video you make may receive views for a number of years.
Medium - A platform dedicated to excellent writing is called Medium. When you write an article about a subject that never goes out of style, you're building a digital asset that can drive visitors indefinitely.
These high ROI platforms let you generate content once and get visitors for years.
This contrasts with low ROI platforms:
Twitter
Instagram
TikTok
LinkedIn
Facebook
The posts you publish on these networks have a 23-day lifetime. Instagram Reels and TikToks are exceptions since viral content can last months.
If you want to make content creation sustainable and enjoyable, you must focus the majority of your efforts on creating high ROI content first. You can then use the magic of repurposing content to publish content to the lower ROI platforms to increase your reach and exposure.
How To Use Your Content Again
So, you’ve decided to focus on the high ROI platforms.
Great!
You've published an article or a YouTube video.
You worked hard on it.
Now you have fresh stuff.
What now?
If you are not repurposing each piece of content for multiple platforms, you are throwing away your time and efforts.
You've created fantastic material, so why not distribute it across platforms?
Repurposing Content Step-by-Step
For me, it's writing a blog article, but you might start with a video or podcast.
The premise is the same regardless of the medium.
Start by creating content for a high ROI platform (YouTube, Blog Post, Medium). Then, repurpose, edit, and repost it to the lower ROI platforms.
Here's how to repurpose pillar material for other platforms:
Post the article on your blog.
Put your piece on Medium (use the canonical link to point to your blog as the source for SEO)
Create a video and upload it to YouTube using the talking points from the article.
Rewrite the piece a little, then post it to LinkedIn.
Change the article's format to a Thread and share it on Twitter.
Find a few quick quotes throughout the article, then use them in tweets or Instagram quote posts.
Create a carousel for Instagram and LinkedIn using screenshots from the Twitter Thread.
Go through your film and select a few valuable 30-second segments. Share them on LinkedIn, Facebook, Twitter, TikTok, YouTube Shorts, and Instagram Reels.
Your video's audio can be taken out and uploaded as a podcast episode.
If you (or your team) achieve all this, you'll have 20-30 pieces of social media content.
If you're just starting, I wouldn't advocate doing all of this at once.
Instead, focus on a few platforms with this method.
You can outsource this as your company expands. (If you'd want to learn more about content repurposing, contact me.)
You may focus on relevant work while someone else grows your social media on autopilot.
You develop high-ROI pillar content, and it's automatically chopped up and posted on social media.
This lets you use social media algorithms without getting sucked in.
Thanks for reading!

MartinEdic
3 years ago
Russia Through the Windows: It's Very Bad
And why we must keep arming Ukraine

Russian expatriates write about horrific news from home.
Read this from Nadin Brzezinski. She's not a native English speaker, so there are grammar errors, but her tale smells true.
Terrible truth.
There's much more that reveals Russia's grim reality.
Non-leadership. Millions of missing supplies are presumably sold for profit, leaving untrained troops without food or gear. Missile attacks pause because they run out. Fake schemes to hold talks as a way of stalling while they scramble for solutions.
Street men were mobilized. Millions will be ground up to please a crazed despot. Fear, wrath, and hunger pull apart civilization.
It's the most dystopian story, but Ukraine is worse. Destruction of a society, country, and civilization. Only the invaders' corruption and incompetence save the Ukrainians.
Rochester, NY. My suburb had many Soviet-era Ukrainian refugees. Their kids were my classmates. Fifty years later, many are still my friends. I loved their food and culture. My town has 20,000 Ukrainians.
Grieving but determined. They don't quit. They won't quit. Russians are eternal enemies.
It's the Russian people's willingness to tolerate corruption, abuse, and stupidity by their leaders. They are paying. 65000 dead. Ruined economy. No freedom to speak. Americans do not appreciate that freedom as we should.
It lets me write/publish.
Russian friends are shocked. Many are here because their parents escaped Russian anti-semitism and authoritarian oppression. A Russian cultural legacy says a strongman's methods are admirable.
A legacy of a slavery history disguised as serfdom. Peasants and Princes.
Read Tolstoy. Then Anna Karenina. The main characters are princes and counts, whose leaders are incompetent idiots with wealth and power.
Peasants who die in their wars due to incompetence are nameless ciphers.
Sound familiar?