


More on Technology

Clive Thompson
3 years ago
Small Pieces of Code That Revolutionized the World
Few sentences can have global significance.

Ethan Zuckerman invented the pop-up commercial in 1997.
He was working for Tripod.com, an online service that let people make little web pages for free. Tripod offered advertising to make money. Advertisers didn't enjoy seeing their advertising next to filthy content, like a user's anal sex website.
Zuckerman's boss wanted a solution. Wasn't there a way to move the ads away from user-generated content?
When you visited a Tripod page, a pop-up ad page appeared. So, the ad isn't officially tied to any user page. It'd float onscreen.
Here’s the thing, though: Zuckerman’s bit of Javascript, that created the popup ad? It was incredibly short — a single line of code:
window.open('http://tripod.com/navbar.html'
"width=200, height=400, toolbar=no, scrollbars=no, resizable=no, target=_top");
Javascript tells the browser to open a 200-by-400-pixel window on top of any other open web pages, without a scrollbar or toolbar.
Simple yet harmful! Soon, commercial websites mimicked Zuckerman's concept, infesting the Internet with pop-up advertising. In the early 2000s, a coder for a download site told me that most of their revenue came from porn pop-up ads.
Pop-up advertising are everywhere. You despise them. Hopefully, your browser blocks them.
Zuckerman wrote a single line of code that made the world worse.
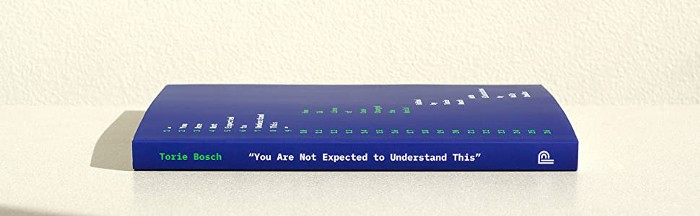
I read Zuckerman's story in How 26 Lines of Code Changed the World. Torie Bosch compiled a humorous anthology of short writings about code that tipped the world.
Most of these samples are quite short. Pop-cultural preconceptions about coding say that important code is vast and expansive. Hollywood depicts programmers as blurs spouting out Niagaras of code. Google's success was formerly attributed to its 2 billion lines of code.
It's usually not true. Google's original breakthrough, the piece of code that propelled Google above its search-engine counterparts, was its PageRank algorithm, which determined a web page's value based on how many other pages connected to it and the quality of those connecting pages. People have written their own Python versions; it's only a few dozen lines.
Google's operations, like any large tech company's, comprise thousands of procedures. So their code base grows. The most impactful code can be brief.
The examples are fascinating and wide-ranging, so read the whole book (or give it to nerds as a present). Charlton McIlwain wrote a chapter on the police beat algorithm developed in the late 1960s to anticipate crime hotspots so law enforcement could dispatch more officers there. It created a racial feedback loop. Since poor Black neighborhoods were already overpoliced compared to white ones, the algorithm directed more policing there, resulting in more arrests, which convinced it to send more police; rinse and repeat.
Kelly Chudler's You Are Not Expected To Understand This depicts the police-beat algorithm.

Even shorter code changed the world: the tracking pixel.
Lily Hay Newman's chapter on monitoring pixels says you probably interact with this code every day. It's a snippet of HTML that embeds a single tiny pixel in an email. Getting an email with a tracking code spies on me. As follows: My browser requests the single-pixel image as soon as I open the mail. My email sender checks to see if Clives browser has requested that pixel. My email sender can tell when I open it.
Adding a tracking pixel to an email is easy:
<img src="URL LINKING TO THE PIXEL ONLINE" width="0" height="0">An older example: Ellen R. Stofan and Nick Partridge wrote a chapter on Apollo 11's lunar module bailout code. This bailout code operated on the lunar module's tiny on-board computer and was designed to prioritize: If the computer grew overloaded, it would discard all but the most vital work.
When the lunar module approached the moon, the computer became overloaded. The bailout code shut down anything non-essential to landing the module. It shut down certain lunar module display systems, scaring the astronauts. Module landed safely.
22-line code
POODOO    INHINT
    CA  Q
    TS  ALMCADR

    TC  BANKCALL
    CADR  VAC5STOR  # STORE ERASABLES FOR DEBUGGING PURPOSES.

    INDEX  ALMCADR
    CAF  0
ABORT2    TC  BORTENT

OCT77770  OCT  77770    # DONT MOVE
    CA  V37FLBIT  # IS AVERAGE G ON
    MASK  FLAGWRD7
    CCS  A
    TC  WHIMPER -1  # YES.  DONT DO POODOO.  DO BAILOUT.

    TC  DOWNFLAG
    ADRES  STATEFLG

    TC  DOWNFLAG
    ADRES  REINTFLG

    TC  DOWNFLAG
    ADRES  NODOFLAG

    TC  BANKCALL
    CADR  MR.KLEAN
    TC  WHIMPER
This fun book is worth reading.
I'm a contributor to the New York Times Magazine, Wired, and Mother Jones. I've also written Coders: The Making of a New Tribe and the Remaking of the World and Smarter Than You Think: How Technology is Changing Our Minds. Twitter and Instagram: @pomeranian99; Mastodon: @clive@saturation.social.

VIP Graphics
3 years ago
Leaked pitch deck for Metas' new influencer-focused live-streaming service
As part of Meta's endeavor to establish an interactive live-streaming platform, the company is testing with influencers.
The NPE (new product experimentation team) has been testing Super since late 2020.
Bloomberg defined Super as a Cameo-inspired FaceTime-like gadget in 2020. The tool has evolved into a Twitch-like live streaming application.
Less than 100 creators have utilized Super: Creators can request access on Meta's website. Super isn't an Instagram, Facebook, or Meta extension.
“It’s a standalone project,” the spokesperson said about Super. “Right now, it’s web only. They have been testing it very quietly for about two years. The end goal [of NPE projects] is ultimately creating the next standalone project that could be part of the Meta family of products.” The spokesperson said the outreach this week was part of a drive to get more creators to test Super.
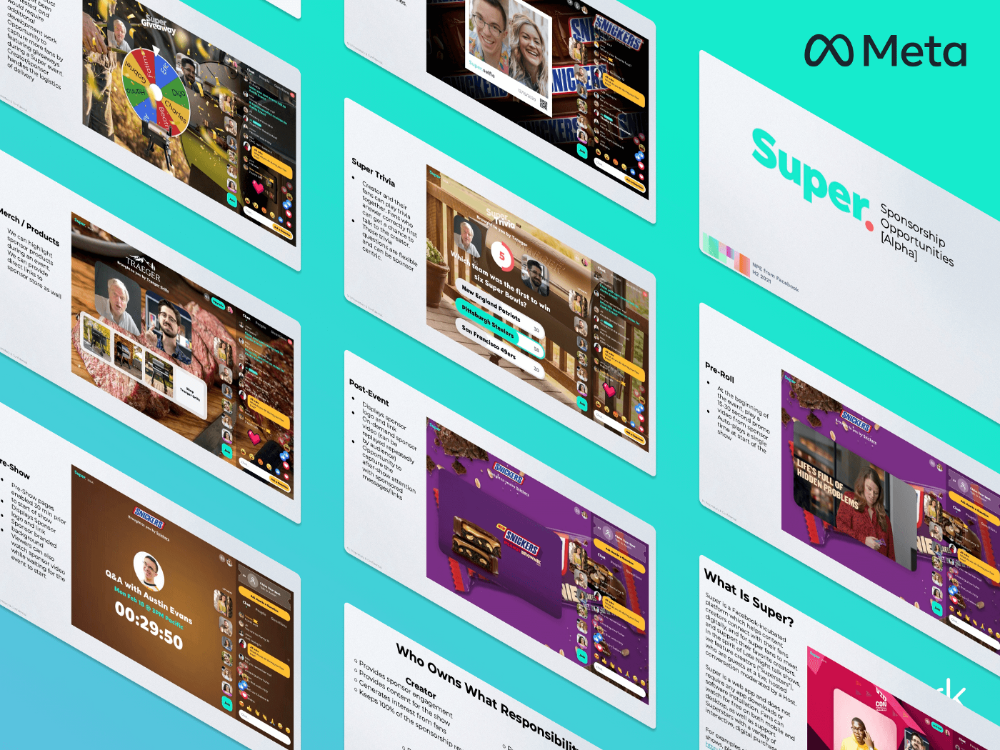
A 2021 pitch deck from Super reveals the inner workings of Meta.
The deck gathered feedback on possible sponsorship models, with mockups of brand deals & features. Meta reportedly paid creators $200 to $3,000 to test Super for 30 minutes.
Meta's pitch deck for Super live streaming was leaked.
What were the slides in the pitch deck for Metas Super?
Embed not supported: see full deck & article here →
View examples of Meta's pitch deck for Super:
Product Slides, first
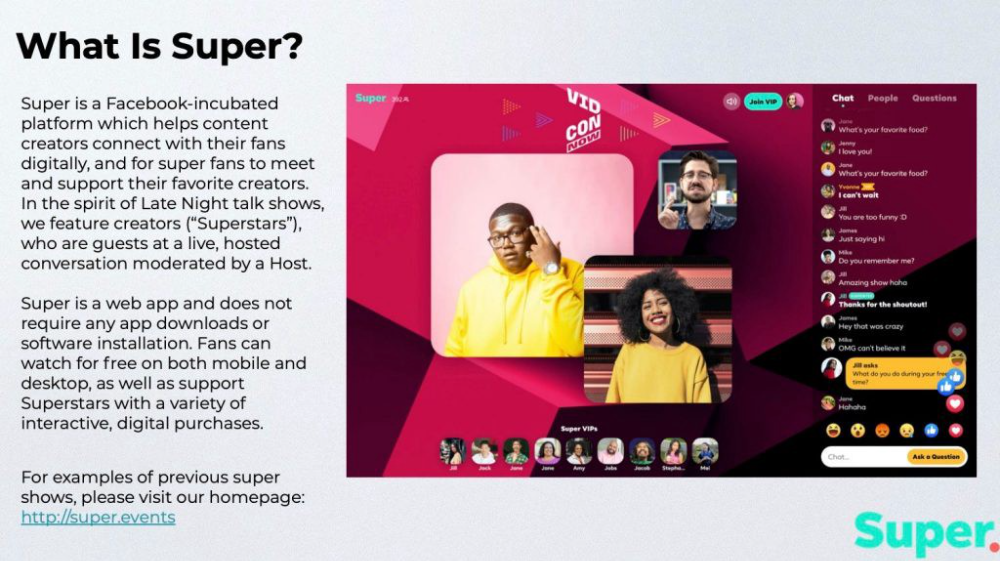
The pitch deck begins with Super's mission:
Super is a Facebook-incubated platform which helps content creators connect with their fans digitally, and for super fans to meet and support their favorite creators. In the spirit of Late Night talk shows, we feature creators (“Superstars”), who are guests at a live, hosted conversation moderated by a Host.
This slide (and most of the deck) is text-heavy, with few icons, bullets, and illustrations to break up the content. Super's online app status (which requires no download or installation) might be used as a callout (rather than paragraph-form).
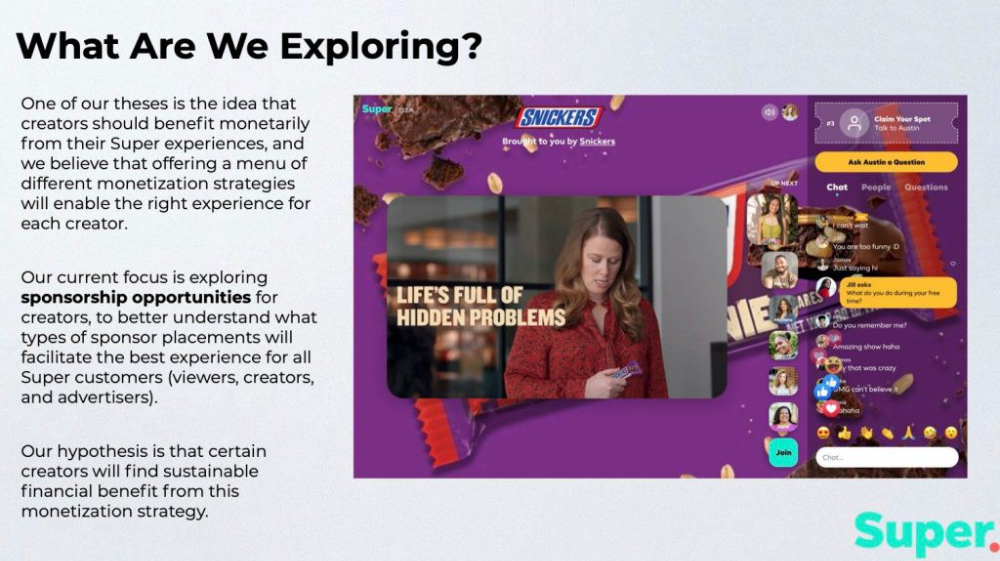
Meta's Super platform focuses on brand sponsorships and native placements, as shown in the slide above.
One of our theses is the idea that creators should benefit monetarily from their Super experiences, and we believe that offering a menu of different monetization strategies will enable the right experience for each creator. Our current focus is exploring sponsorship opportunities for creators, to better understand what types of sponsor placements will facilitate the best experience for all Super customers (viewers, creators, and advertisers).
Colorful mockups help bring Metas vision for Super to life.
2. Slide Features
Super's pitch deck focuses on the platform's features. The deck covers pre-show, pre-roll, and post-event for a Sponsored Experience.
Pre-show: active 30 minutes before the show's start
Pre-roll: Play a 15-minute commercial for the sponsor before the event (auto-plays once)
Meet and Greet: This event can have a branding, such as Meet & Greet presented by [Snickers]
Super Selfies: Makers and followers get a digital souvenir to post on social media.
Post-Event: Possibility to draw viewers' attention to sponsored content/links during the after-show
Almost every screen displays the Sponsor logo, link, and/or branded background. Viewers can watch sponsor video while waiting for the event to start.
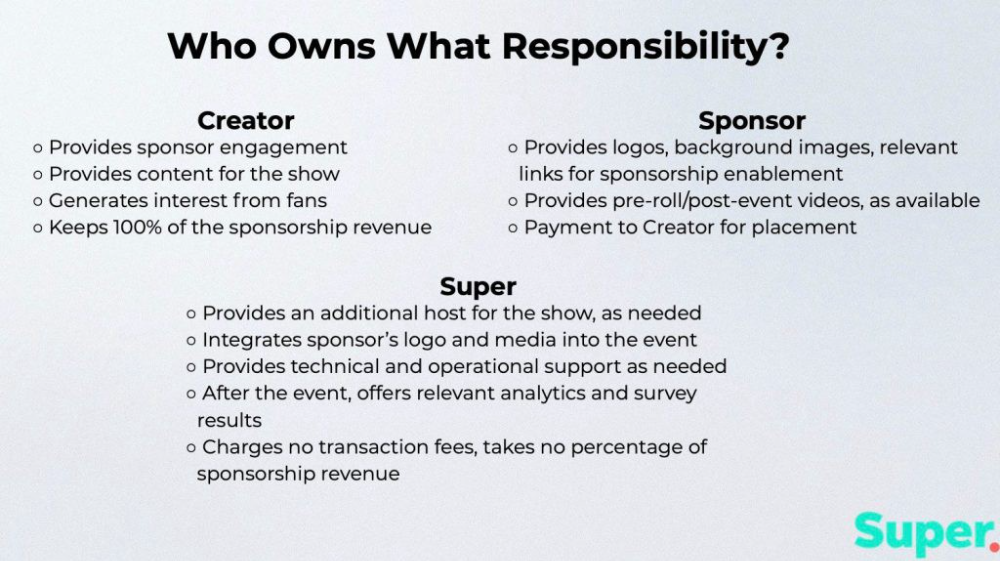
Slide 3: Business Model
Meta's presentation for Super is incomplete without numbers. Super's first slide outlines the creator, sponsor, and Super's obligations. Super does not charge creators any fees or commissions on sponsorship earnings.
How to make a great pitch deck
We hope you can use the Super pitch deck to improve your business. Bestpitchdeck.com/super-meta is a bookmarkable link.
You can also use one of our expert-designed templates to generate a pitch deck.
Our team has helped close $100M+ in agreements and funding for premier companies and VC firms. Use our presentation templates, one-pagers, or financial models to launch your pitch.
Every pitch must be audience-specific. Our team has prepared pitch decks for various sectors and fundraising phases.
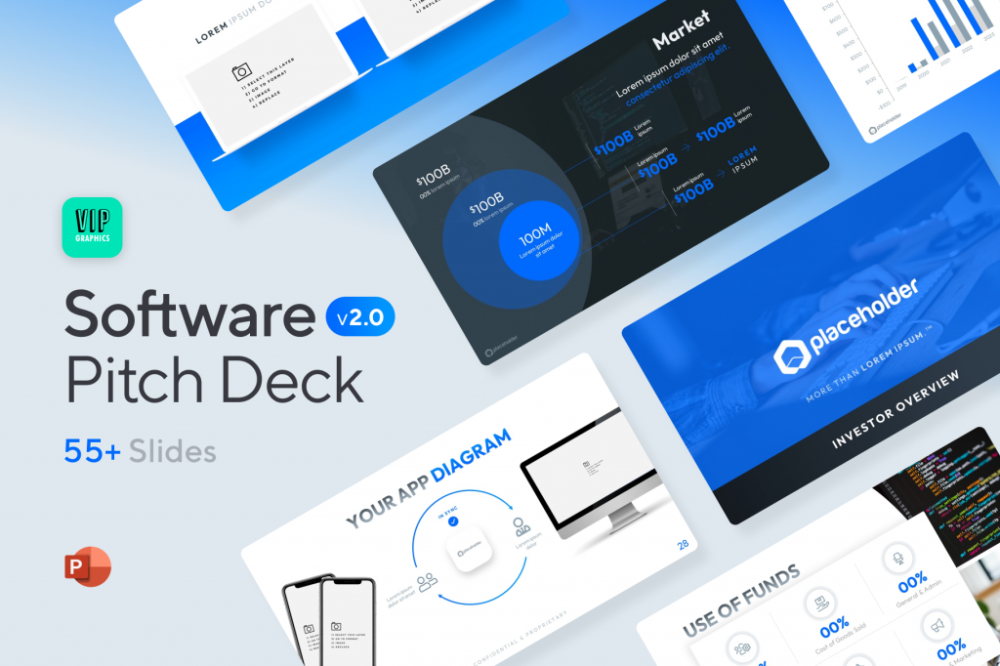
Pitch Deck Software VIP.graphics produced a popular SaaS & Software Pitch Deck based on decks that closed millions in transactions & investments for orgs of all sizes, from high-growth startups to Fortune 100 enterprises. This easy-to-customize PowerPoint template includes ready-made features and key slides for your software firm.
Accelerator Pitch Deck The Accelerator Pitch Deck template is for early-stage founders seeking funding from pitch contests, accelerators, incubators, angels, or VC companies. Winning a pitch contest or getting into a top accelerator demands a strategic investor pitch.
Pitch Deck Template Series Startup and founder pitch deck template: Workable, smart slides. This pitch deck template is for companies, entrepreneurs, and founders raising seed or Series A finance.
M&A Pitch Deck Perfect Pitch Deck is a template for later-stage enterprises engaging more sophisticated conversations like M&A, late-stage investment (Series C+), or partnerships & funding. Our team prepared this presentation to help creators confidently pitch to investment banks, PE firms, and hedge funds (and vice versa).
Browse our growing variety of industry-specific pitch decks.

Frank Andrade
3 years ago
I discovered a bug that allowed me to use ChatGPT to successfully web scrape. Here's how it operates.
This method scrapes websites with ChatGPT (demo with Amazon and Twitter)

In a recent article, I demonstrated how to scrape websites using ChatGPT prompts like scrape website X using Python.
But that doesn’t always work.
After scraping dozens of websites with ChatGPT, I realized that simple prompts rarely work for web scraping.
Using ChatGPT and basic HTML, we can scrape any website.
First things first, use ChatGPT's advanced version (Playground)
ChatGPT Playground's enhanced version is needed to scrape websites quickly. It generates code faster and has less constraints.
Here’s how it looks.
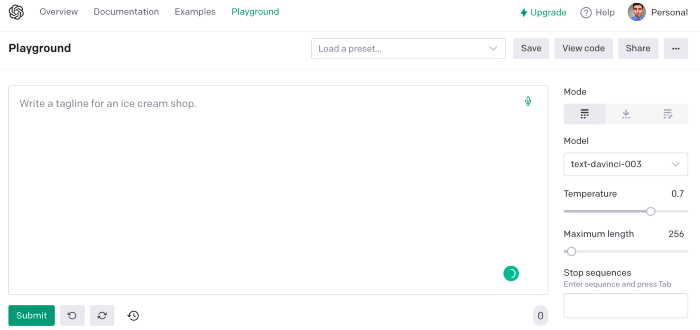
The classic ChatGPT display just allows you to type a prompt. Playground is more customizable and generates code faster than the basic version.
No more delays or restrictions.
In this tutorial, we'll write prompts underneath Playground.
How to Use ChatGPT to Scrape Any Website
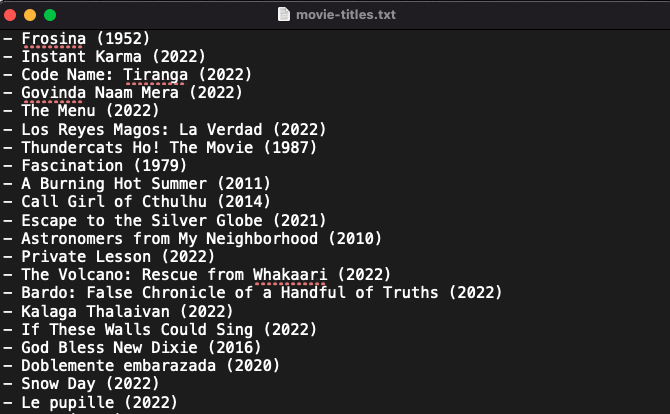
To show you how to utilize ChatGPT to scrape any website, we'll use subslikescript, which lists movies.
Later in this post, I'll show you how to scrape Amazon and Twitter, but let's start easy.
If we try a basic prompt like “scrape the movie titles on this website: https://subslikescript.com/movies” it won’t scrape anything. Here’s when we need some HTML knowledge to build the right prompt for ChatGPT.Let's scrape the above movie titles. First, check the webpage. Right-click any element and choose Inspect.
Then see below.
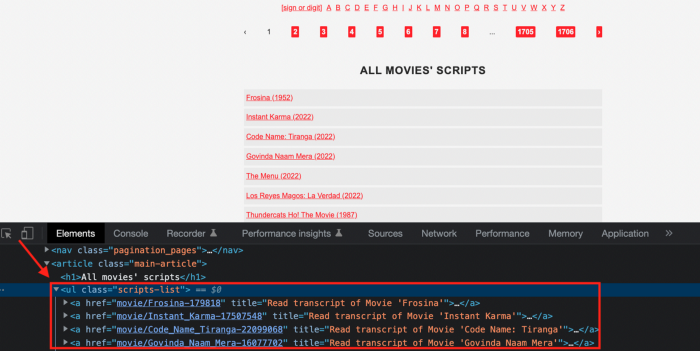
We identify the element to scrape (those in the red box). The data elements are ul, a, and scripts-list.
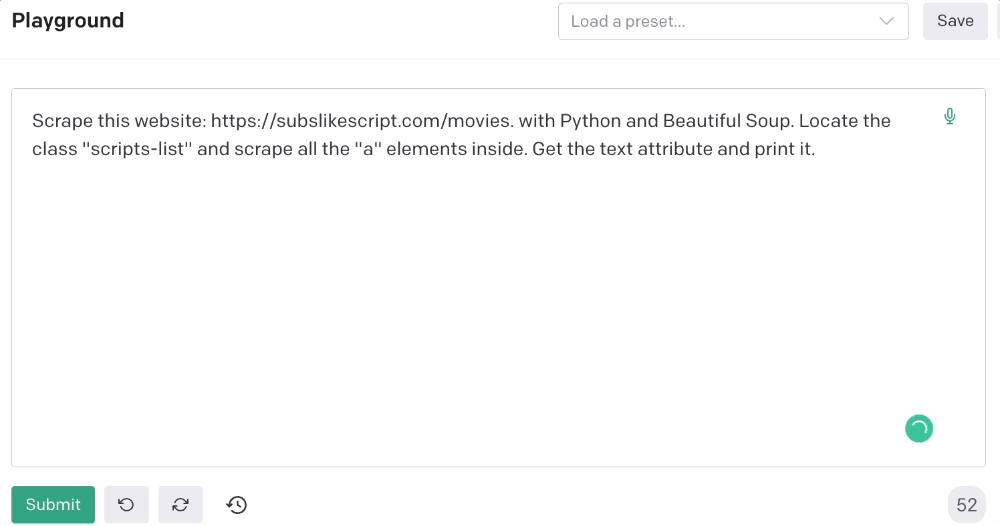
Here's the prompt for movie titles.
Scrape this website: https://subslikescript.com/movies with Python and Beautiful Soup. Locate the element with tag “ul” and class “scripts-list”. Scrape all the “a” elements inside. Get the text attribute and print it.
Code generated:
import requests
from bs4 import BeautifulSoup

page = requests.get('https://subslikescript.com/movies/')

soup = BeautifulSoup(page.content, 'html.parser')

scripts_list = soup.find(class_="scripts-list")

all_a_elements = scripts_list.find_all('a')

for element in all_a_elements:
    print(element.get_text())
It extracts movie titles successfully.
Let's scrape Amazon and Twitter.
ChatGPT's Amazon scraping
Consider scraping Amazon for self-help books. First, copy the Amazon link for self-help books.
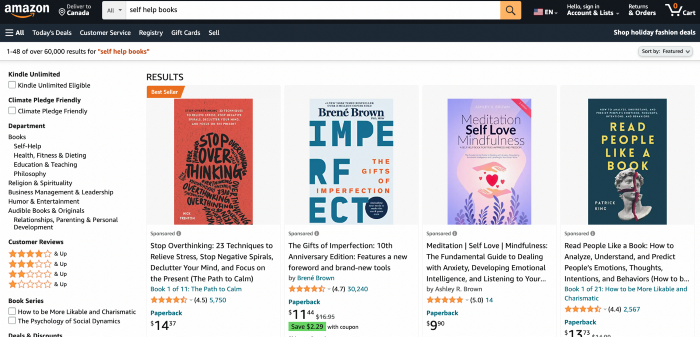
Here’s the link I got. Location-dependent connection. Use my link to replicate my results.
Now we'll check book titles. Here's our element.
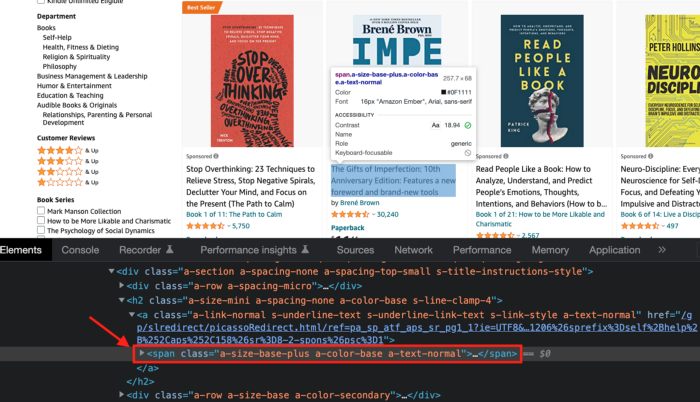
If we want to extract the book titles, we need to use the tag name span, class attribute name and a-size-base-plus a-color-base a-text-normalattribute value.
This time I'll use Selenium. I'll add Selenium-specific commands like wait 5 seconds and generate an XPath.
Scrape this website https://www.amazon.com/s?k=self+help+books&sprefix=self+help+%2Caps%2C158&ref=nb_sb_ss_ts-doa-p_2_10 with Python and Selenium.
Wait 5 seconds and locate all the elements with the following xpath: “span” tag, “class” attribute name, and “a-size-base-plus a-color-base a-text-normal” attribute value. Get the text attribute and print them.

Code generated: (I only had to manually add the path where my chromedriver is located).
from selenium import webdriver
from selenium.webdriver.common.by import By
from time import sleep
#initialize webdriver
driver = webdriver.Chrome('<add path of your chromedriver>')
#navigate to the website
driver.get("https://www.amazon.com/s?k=self+help+books&sprefix=self+help+%2Caps%2C158&ref=nb_sb_ss_ts-doa-p_2_10")
#wait 5 seconds to let the page load
sleep(5)
#locate all the elements with the following xpath
elements = driver.find_elements(By.XPATH, '//span[@class="a-size-base-plus a-color-base a-text-normal"]')
#get the text attribute of each element and print it
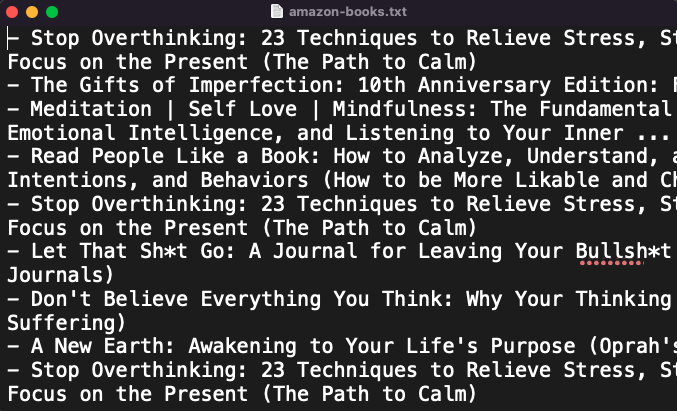
for element in elements:
print(element.text)
#close the webdriver
driver.close()It pulls Amazon book titles.
Utilizing ChatGPT to scrape Twitter
Say you wish to scrape ChatGPT tweets. Search Twitter for ChatGPT and copy the URL.
Here’s the link I got. We must check every tweet. Here's our element.
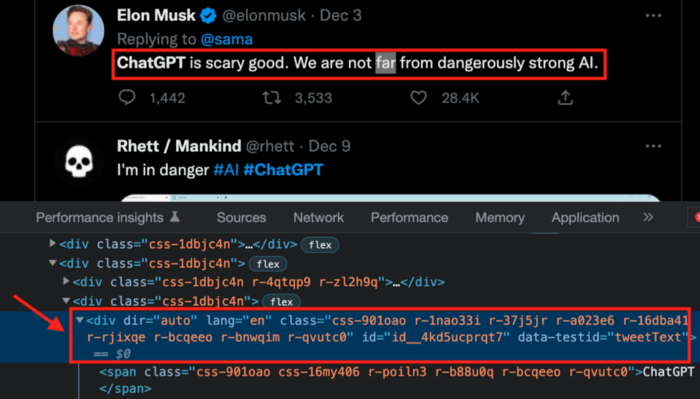
To extract a tweet, use the div tag and lang attribute.
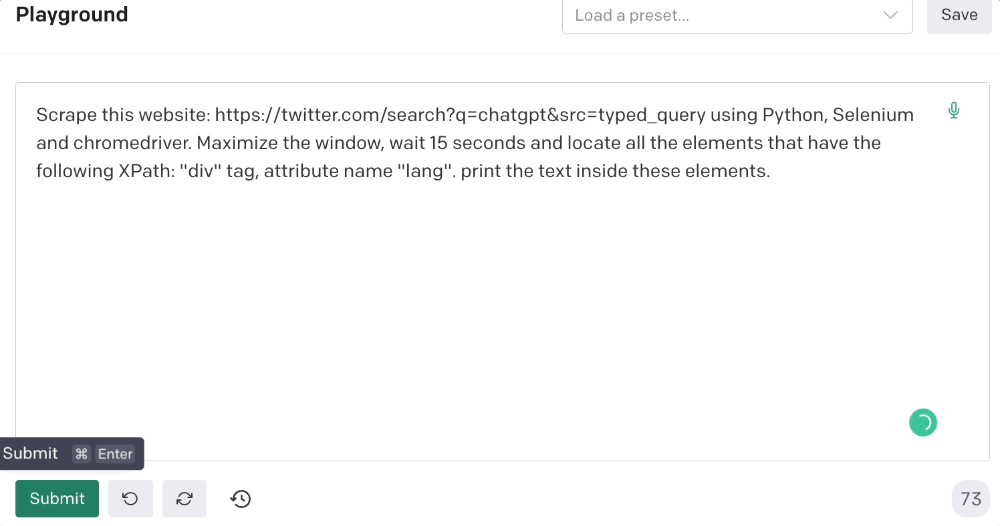
Again, Selenium.
Scrape this website: https://twitter.com/search?q=chatgpt&src=typed_query using Python, Selenium and chromedriver.
Maximize the window, wait 15 seconds and locate all the elements that have the following XPath: “div” tag, attribute name “lang”. Print the text inside these elements.
Code generated: (again, I had to add the path where my chromedriver is located)
from selenium import webdriver
import time

driver = webdriver.Chrome("/Users/frankandrade/Downloads/chromedriver")
driver.maximize_window()
driver.get("https://twitter.com/search?q=chatgpt&src=typed_query")
time.sleep(15)

elements = driver.find_elements_by_xpath("//div[@lang]")
for element in elements:
    print(element.text)

driver.quit()
You'll get the first 2 or 3 tweets from a search. To scrape additional tweets, click X times.
Congratulations! You scraped websites without coding by using ChatGPT.
You might also like

Pat Vieljeux
3 years ago
In 5 minutes, you can tell if a startup will succeed.
Or the “lie to me” method.

I can predict a startup's success in minutes.
Just interview its founder.
Ask "why?"
I question "why" till I sense him.
I need to feel the person I have in front of me. I need to know if he or she can deliver. Startups aren't easy. Without abilities, a brilliant idea will fail.
Good entrepreneurs have these qualities: He's a leader, determined, and resilient.
For me, they can be split in two categories.
The first entrepreneur aspires to live meaningfully. The second wants to get rich. The second is communicative. He wants to wow the crowd. He's motivated by the thought of one day sailing a boat past palm trees and sunny beaches.
What drives the first entrepreneur is evident in his speech, face, and voice. He will not speak about his product. He's (nearly) uninterested. He's not selling anything. He's not a salesman. He wants to succeed. The product is his fuel.
He'll explain his decision. He'll share his motivations. His desire. And he'll use meaningful words.
Paul Ekman has shown that face expressions aren't cultural. His study influenced the American TV series "lie to me" about body language and speech.
Passionate entrepreneurs are obvious. It's palpable. Faking passion is tough. Someone who wants your favor and money will expose his actual motives through his expressions and language.
The good liar will be able to fool you for a while, but not for long if you pay attention to his body language and how he expresses himself.
And also, if you look at his business plan.
His business plan reveals his goals. Read between the lines.
Entrepreneur 1 will focus on his "why", whereas Entrepreneur 2 will focus on the "how".
Entrepreneur 1 will develop a vision-driven culture.
The second, on the other hand, will focus on his EBITDA.
Why is the culture so critical? Because it will allow entrepreneur 1 to develop a solid team that can tackle his problems and trials. His team's "why" will keep them together in tough times.
"Give me a terrific start-up team with a mediocre idea over a weak one any day." Because a great team knows when to pivot and trusts each other. Weak teams fail.” — Bernhard Schroeder
Closings thoughts
Every VC must ask Why. Entrepreneur's motivations. This "why" will create the team's culture. This culture will help the team adjust to any setback.
Jason Kottke
3 years ago
Lessons on Leadership from the Dancing Guy
This is arguably the best three-minute demonstration I've ever seen of anything. Derek Sivers turns a shaky video of a lone dancing guy at a music festival into a leadership lesson.
A leader must have the courage to stand alone and appear silly. But what he's doing is so straightforward that it's almost instructive. This is critical. You must be simple to follow!
Now comes the first follower, who plays an important role: he publicly demonstrates how to follow. The leader embraces him as an equal, so it's no longer about the leader — it's about them, plural. He's inviting his friends to join him. It takes courage to be the first follower! You stand out and dare to be mocked. Being a first follower is a style of leadership that is underappreciated. The first follower elevates a lone nut to the position of leader. If the first follower is the spark that starts the fire, the leader is the flint.
This link was sent to me by @ottmark, who noted its resemblance to Kurt Vonnegut's three categories of specialists required for revolution.
The rarest of these specialists, he claims, is an actual genius – a person capable generating seemingly wonderful ideas that are not widely known. "A genius working alone is generally dismissed as a crazy," he claims.
The second type of specialist is much easier to find: a highly intellectual person in good standing in his or her community who understands and admires the genius's new ideas and can attest that the genius is not insane. "A person like him working alone can only crave loudly for changes, but fail to say what their shapes should be," Slazinger argues.
Jeff Veen reduced the three personalities to "the inventor, the investor, and the evangelist" on Twitter.

Aniket
3 years ago
Yahoo could have purchased Google for $1 billion
Let's see this once-dominant IT corporation crumble.

What's the capital of Kazakhstan? If you don't know the answer, you can probably find it by Googling. Google Search returned results for Nur-Sultan in 0.66 seconds.
Google is the best search engine I've ever used. Did you know another search engine ruled the Internet? I'm sure you guessed Yahoo!
Google's friendly UI and wide selection of services make it my top choice. Let's explore Yahoo's decline.
Yahoo!
YAHOO stands for Yet Another Hierarchically Organized Oracle. Jerry Yang and David Filo established Yahoo.
Yahoo is primarily a search engine and email provider. It offers News and an advertising platform. It was a popular website in 1995 that let people search the Internet directly. Yahoo began offering free email in 1997 by acquiring RocketMail.
According to a study, Yahoo used Google Search Engine technology until 2000 and then developed its own in 2004.
Yahoo! rejected buying Google for $1 billion
Larry Page and Sergey Brin, Google's founders, approached Yahoo in 1998 to sell Google for $1 billion so they could focus on their studies. Yahoo denied the offer, thinking it was overvalued at the time.
Yahoo realized its error and offered Google $3 billion in 2002, but Google demanded $5 billion since it was more valuable. Yahoo thought $5 billion was overpriced for the existing market.
In 2022, Google is worth $1.56 Trillion.
What happened to Yahoo!
Yahoo refused to buy Google, and Google's valuation rose, making a purchase unfeasible.
Yahoo started losing users when Google launched Gmail. Google's UI was far cleaner than Yahoo's.
Yahoo offered $1 billion to buy Facebook in July 2006, but Zuckerberg and the board sought $1.1 billion. Yahoo rejected, and Facebook's valuation rose, making it difficult to buy.
Yahoo was losing users daily while Google and Facebook gained many. Google and Facebook's popularity soared. Yahoo lost value daily.
Microsoft offered $45 billion to buy Yahoo in February 2008, but Yahoo declined. Microsoft increased its bid to $47 billion after Yahoo said it was too low, but Yahoo rejected it. Then Microsoft rejected Yahoo’s 10% bid increase in May 2008.
In 2015, Verizon bought Yahoo for $4.5 billion, and Apollo Global Management bought 90% of Yahoo's shares for $5 billion in May 2021. Verizon kept 10%.
Yahoo's opportunity to acquire Google and Facebook could have been a turning moment. It declined Microsoft's $45 billion deal in 2008 and was sold to Verizon for $4.5 billion in 2015. Poor decisions and lack of vision caused its downfall. Yahoo's aim wasn't obvious and it didn't stick to a single domain.
Hence, a corporation needs a clear vision and a leader who can see its future.
Liked this article? Join my tech and programming newsletter here.